
Getting Started as a Mailbux Reseller: Complete Setup Guide
What is the Mailbux Reseller Program?
Mailbux reseller add-ons let you offer professional email hosting under your own brand. You create and manage sub-tenants for your customers, each with their own domains, email accounts, and storage — all powered by Mailbux infrastructure.
How It Works
The reseller system has two separate components:
- Main Plan (storage) — Your regular Mailbux subscription determines your total storage quota. This quota is shared across your own email accounts AND all sub-tenants you create.
- Reseller Add-on (capabilities) — Purchased separately, this unlocks branding, tenant creation, and the reseller management panel.
Important: You need both a paid main plan AND a reseller add-on to create sub-tenants. The free plan cannot create tenants.
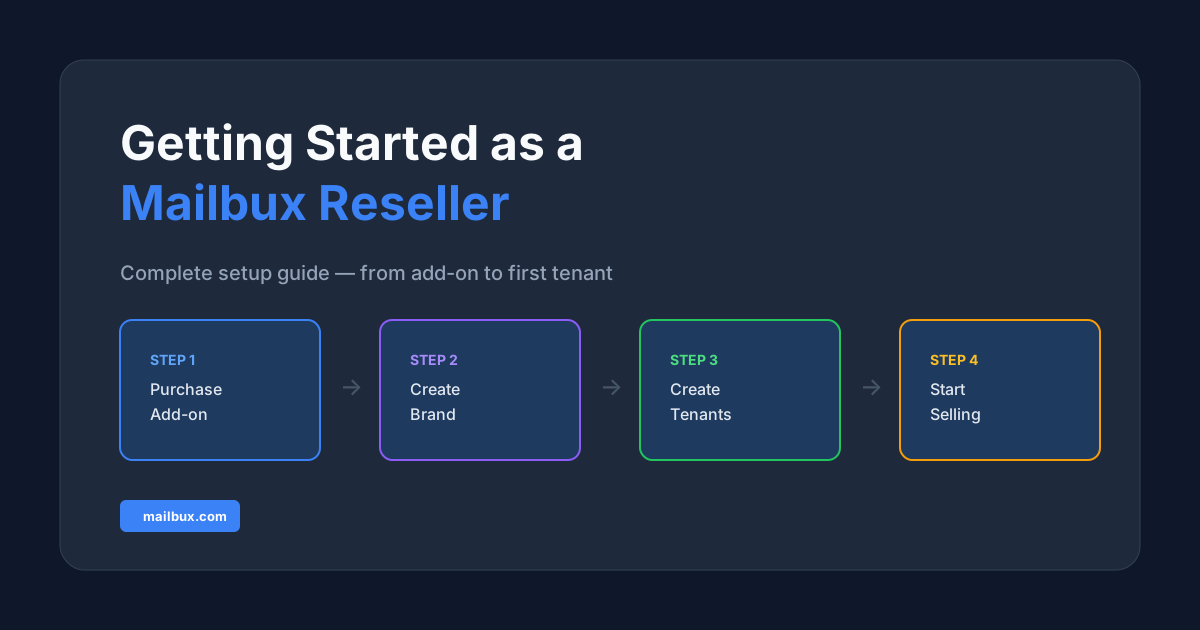
Step 1: Choose Your Main Plan
Your main plan determines how much total storage you can allocate across your own email accounts and all sub-tenants. A larger plan means more storage to distribute.
View and change plans in dash.mailbux.com → Services → your plan → Upgrade.
Step 2: Purchase a Reseller Add-on
Add a white-label add-on from the store in dash.mailbux.com and choose your tier (current prices are shown there). Every tier includes tenant creation and your own branded webmail. Higher tiers add branded mobile/desktop apps and full custom domain whitelabeling.
Each add-on is one white-label brand (one webmail and one mail hostname). Sub-tenants are unlimited and take their storage from your main plan's pool.
Step 3: Set Up Your Brand
Before creating tenants, set up your brand identity. Go to Reseller → Rebrand and click Create New Brand:
- Brand name, logo, and colors — Your company identity
- Custom hostnames — every add-on is one brand with its own webmail and mail hostname, e.g., mail.yourbrand.com
- SSL certificate — Auto-installed when DNS is pointed
- Support email — Where your customers reach you
- Mobile and desktop app branding — Apps/Complete tiers
Step 4: Create Sub-Tenants
Now create email hosting accounts for your customers:
- Go to Reseller → Tenants
- Click Create Tenant
- Set the storage quota (allocated from your plan quota)
- Save the auto-generated admin credentials — they are shown only once
- Share the credentials with your customer
Understanding Quota Allocation
Your total plan storage is shared between your own email accounts and all sub-tenants:
Available Quota = Plan Total - Your Email Accounts - Sub-Tenant Allocations
Each mailbox needs at least 1 GB.
Need more quota? Upgrade your main plan in dash.mailbux.com → Services → your plan → Upgrade.
Managing Tenants
From Services → your plan → Reseller in dash.mailbux.com you can:
- Suspend — Temporarily disable a tenant (they cannot send/receive email)
- Reactivate — Re-enable a suspended tenant
- Terminate — Permanently delete a tenant and all its data
- Update Quota — Increase or decrease allocated storage
Reseller API
For programmatic management, use the Reseller REST API. Full documentation with examples is available at that link. There is no WHMCS or cPanel module — the API is designed for direct integration with any billing platform.
API reference is also available in your dashboard at Account → Reseller → API.